

Option 2: Adding Ha star information to SII and OIII
This workflow incorporates some of the Ha data into the SII and OIII images to simulate natural star color and boost the signal of the weaker SII and OIII channels, and also somewhat simulates the hydrogen-beta (Hb) spectrum in star color. This method works particularly well when one of the channels (usually SII) is extremely weak.
For this workflow I will be using one panel of a mosaic image of IC1396 and Photoshop CS3.
1. Open master SII/Ha/OIII calibrated and registered frames. Duplicate the images in order to save the originals
2. Lightly stretch the Ha image using curves/levels. A guide here would be to aim for ½ or less of the full stretching you intend to do. Do the exact same stretching for the SII and OIII frames. (You may want to record a Photoshop “action” while you stretch the Ha, in order to exactly replicate the stretching for all channels). The idea here is to bring out some stars but not over-saturate.
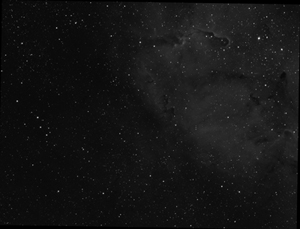
Ha image stretched to 1/2 maximum
3. Save the lightly stretched images.
4. Duplicate the images again, and use the duplicates to create a “master luminosity” as described by JP Metsavainio in his “Tonemap” method. (Step II in the Tonemap powerpoint presentation).
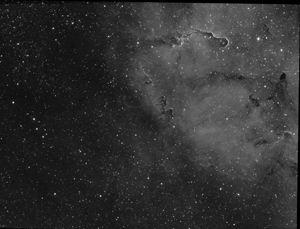
Master LUM (OIII and SII Tonemap added to Ha)
5. Processing images for star color and nebula color Open the lightly stretched SII/Ha/OIII images (the ones used to create the master LUM). Duplicate SII and OIII images, close original SII and OIII images. “Apply” 20% of the Ha image to the SII and OIII images (Image/Apply Image – in the dialogue set the blend mode to “normal” and opacity to 20%).
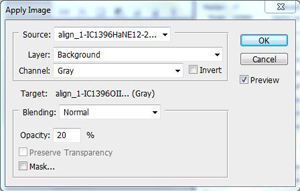
"Apply Image" dialogue
6. Assemble hubble palette image (SII=R, Ha=G, OIII=B). Copy the Ha image on top of the SII image, and copy the OIII image on top of the Ha layer. You can close the Ha and OIII images. Save the new file as something like “[object name]-stars-color.tif”.
7. Change the image mode to “RGB Color” (Image/Mode). Create Hue/Saturation, Curves and Levels adjustment layers on top of the SII/Ha/OIII layers. (Save time by using the ESO/NASA fits-liberator action “Color Composite” to create these adjustment layers. The action can be downloaded here:
ColourComposite.atn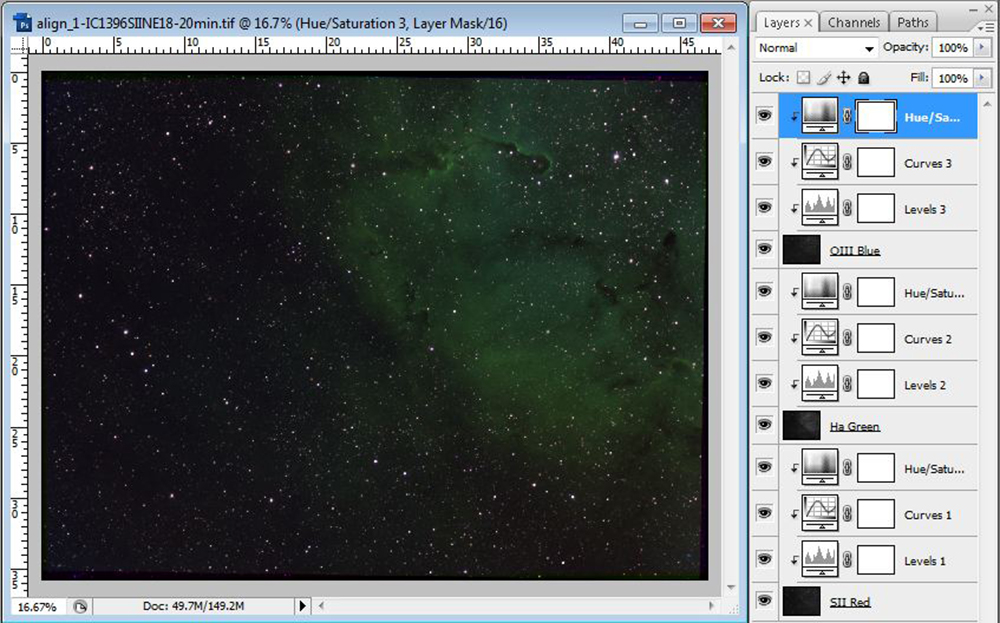
Hubble palette color image
(click image for larger version)
8. Match RGB black point with levels. Stretch the SII and OIII layers using curves/levels to match the histogram of the Ha (green).
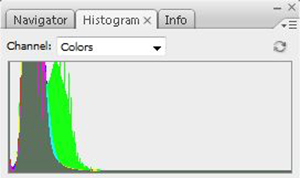
Black point aligned on the left
9. LIGHTLY process the image to taste (Noise reduction? Gradient? Sharpen? Stretch image to taste, but the idea here is just to go after color in the stars and nebula). If not done before, flatten the image.
10. The stars are probably much too magenta. Duplicate the layer, use “selective color” adjustments and under magenta, reduce the magenta to 0 and increase the cyan to 100.
11. Flatten the image.
12. Duplicate the layer.
13. Increase the saturation by 20%, select stars in the base layer (expand/feather), go back to the saturation layer and go to layer/layer mask/reveal selection. Now the stars in the image should be a more natural color without magenta, without increasing the saturation of background noise or in the nebula.
14. Flatten the image.
15. Adjust nebula color to taste by using “selective color” adjustments. You may also need to increase the saturation of the entire image.
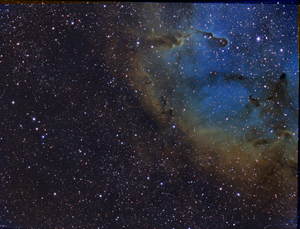
Color image with good star and nebula color
16. Place the image with colored stars on top of the Tonemap Master LUM, set the blend mode to “color".
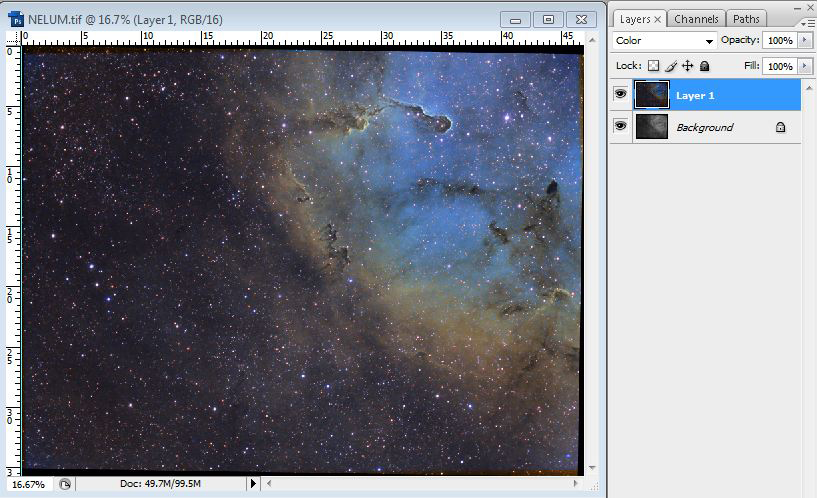
Combined Color and LUM image
(click image for larger version)
17. The color saturation will probably need to be increased by either hue/saturation and/or curves.
18. Process the final image to your personal taste.

Final processed image
(click image for larger version)
